Living in the southwest and learning how to garden is not an easy task but…it can be done. Whether you have a yard to build raised beds or a patio big enough for container gardening, you can have great success if you follow a few steps. Let’s get started…
Step#1: Pick your Location
You’ll want to pick a spot that gets a good amount of sunlight during the day and is shaded in the afternoon. The location should be within reach of a water source if possible. If not, there are some creative ways to address the watering issue. You can hand water daily but if you’re like me, I would completely forget and kill all my plants. I would also recommend looking into a shade structure for the summer months if you are in a hot, dry climate like me. These can be purchased or you can get creative and make one out of PVC piping and shade cloth.
Step#2: Choose your Garden Container and Water Source
Self-watering Containers
There are many choices of self-watering containers. You can purchase a small indoor unit with a grow light or you can get a larger patio version. The small indoor units will work best for small plants like herbs but if you want to plant vegetables and you have the space outside, I would recommend the larger container. Below are some links to a couple options. Search around and find what works for your space.
If you have a water source near, you can purchase a relatively inexpensive timer and dripper system kit for your hose bib. If your worried about monopolizing your hose bib just for your garden, you can invest in a hose bib splitter. This will allow you to use your dripper system independently and still have a hose for other uses. You can start planting in an existing planter, a newly purchased planter or you can use Grow Bags. There are so many choices to chose from. For example, a 5 gallon bucket with holes drilled toward the bottom can be a great container for a tomato plant. Put a tomato cage around it and walla! As long as it holds dirt and has good drainage, it should work. Go ahead and be as creative as you want. Below are a few links to a dripper system kit, timer and hose bib splitter so you get an idea of what is out there.
For those that are lucky enough to have a larger outdoor space, you might want to invest in a raised bed kit from your local hardware store. If you really want to get into gardening, you can pay a landscaper to install a raised garden for you with plumbed dripper system and dripper control panel. The bigger you go, the more expensive it will be. If you are just starting out. I recommend starting small to make sure it’s a hobby that you love and enjoy before investing a lot of money.
Step#3: Choose Your Soil and Garden Tools
Once you figure out your location and the type of container for your plants, you’ll need to get a good potting mix. The choices can be overwhelming. Again, your local hardware store should have several options available. I suggest that you ask their knowledgeable staff for help if you are having a hard time deciding. You can also get soil from any nursery.
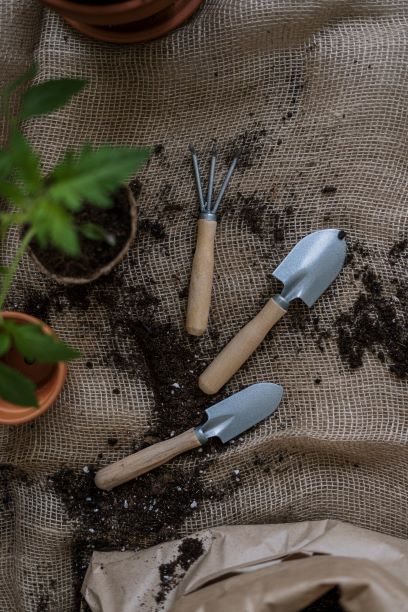
Having a few gardening tools will also be important. I recommend at minimum that you have a trowel, a cultivator and pruning shears or scissors. Below is a link to a gardening tool kit that includes all of these items. You do not need to spend loads of money. You just need the basics to get started.
Step#4: Follow a Planting Guide for Your Planting Zone
Example Calendar
So what will you plant? It’s important to understand your climate and your particular planting zone. For those that live in Arizona, I found a great gardening resource through the University of Arizona. Click the link here. I recommend that you search for “University Cooperative Extension” and then add your state to your search. Most universities have great information about gardening in your area. Alternatively, you can look up your zip code on the Old Farmers’s Almanac. Find the planting calendar for your area as a guide. Click the link here: The Old Farmer’s Almanac
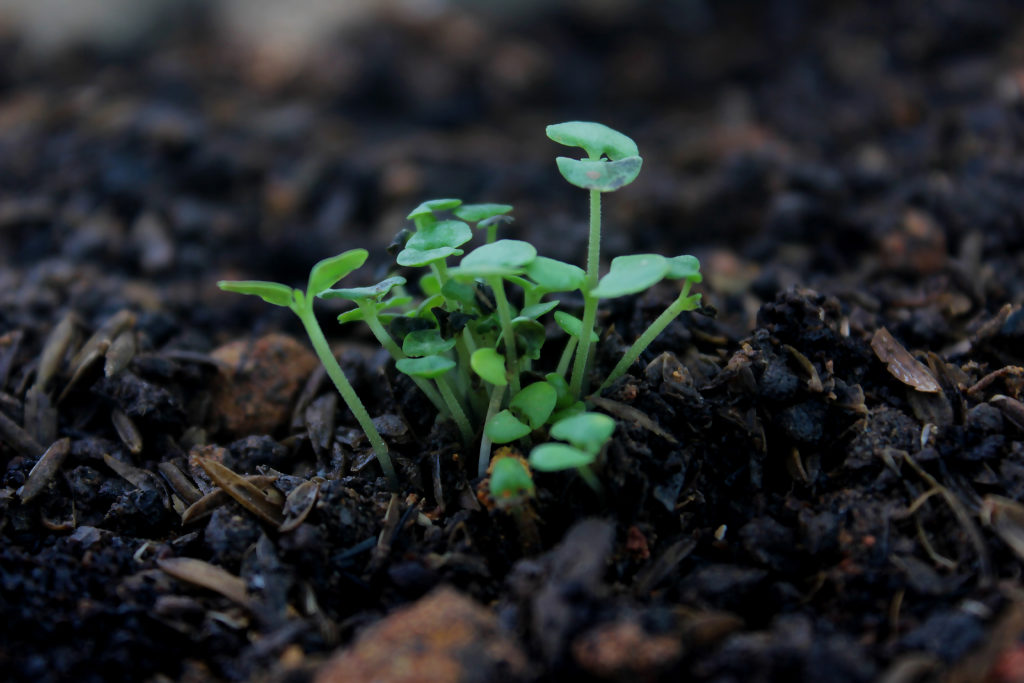
Step#5: Choose a Few Varieties to Plant
Use your planting calendar to choose a couple different things to plant. You can plant from seeds or you can purchase starters. I like to plant from seed so I can nurture my plants from start to finish. One thing that you MUST do (and yes it can be painful) is to thin your seedlings. Follow your packet directions. You will have to pull some of your seedlings out. If you have a good root system on your seedlings, you can try to move them if you have space. But trust me, you will get much bigger plants if they are spaced properly. I also recommend that you get an all purpose fertilizer and feed your plants once a week. I recommend something that is soluble in water. I don’t like the granular ones that you sprinkle on top of the dirt. I don’t feel those work as well. In the end, your plants will thank you for the added nutrients.
Step#6: Keep a Garden Diary
It’s really helpful to keep a gardeners diary. I recommend documenting the following:
What you planted
When you planted it
Where it was planted (what exposure it has)
When and what you feed your plants
How much you water it
Any other information you find helpful
This will help you to understand what works and what doesn’t.
Step#7: Have Fun!
Gardening should be fun, exciting and relaxing. You will find yourself checking your plants several times a day to see their progress. Make gardening a family event and get your kids involved. They will love it and gardening will help to encourage them to eat more vegetables. Gardening should never be stressful. If something doesn’t work out, just pull it out and try again. So go get planting and have a great time doing it!